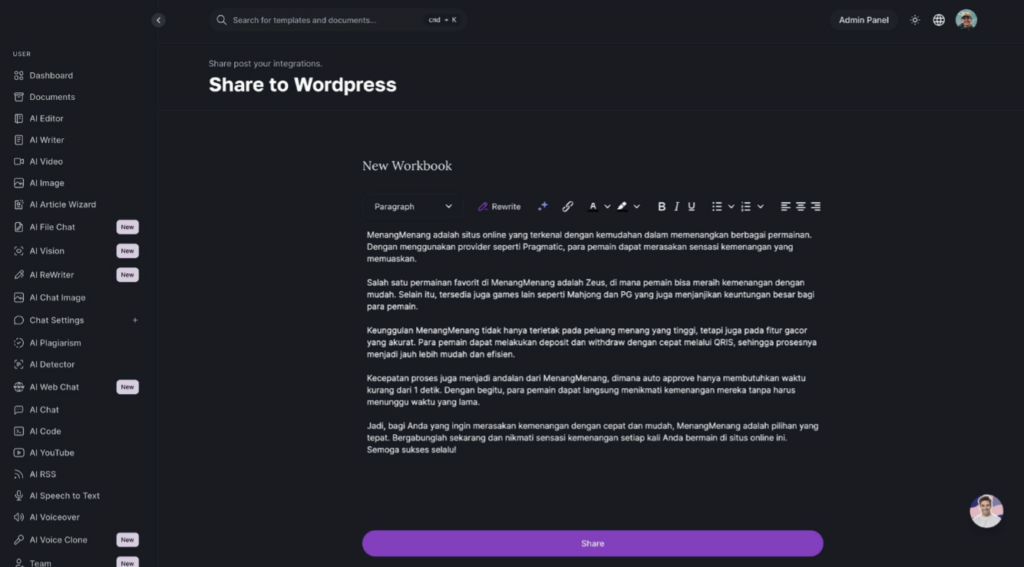
You can use this WordPress automation tool to push the content automatically to your WordPress website, ensuring a seamless publishing process.
Log in to your WordPress admin dashboard using your credentials.
In the WordPress dashboard, navigate to ‘Plugins’ > ‘Add New’.
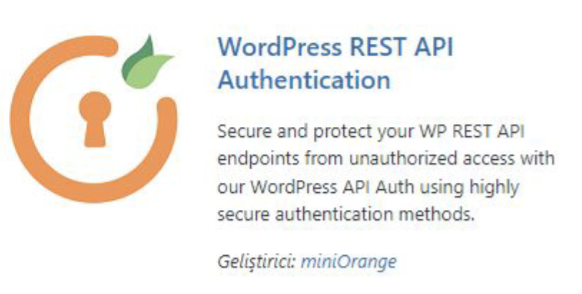
Search for ‘WordPress REST API Authentication’ in the plugin search bar.
Click on ‘Install Now’ and then ‘Activate’ to activate the plugin.
Create a Bucket
After installation, make sure that JWT Authentication is activated in the plugin settings.Two-factor authentication must be disabled on your WordPress site.
From the panel, go to Settings -> Permalinks and select the ‘postname’ option
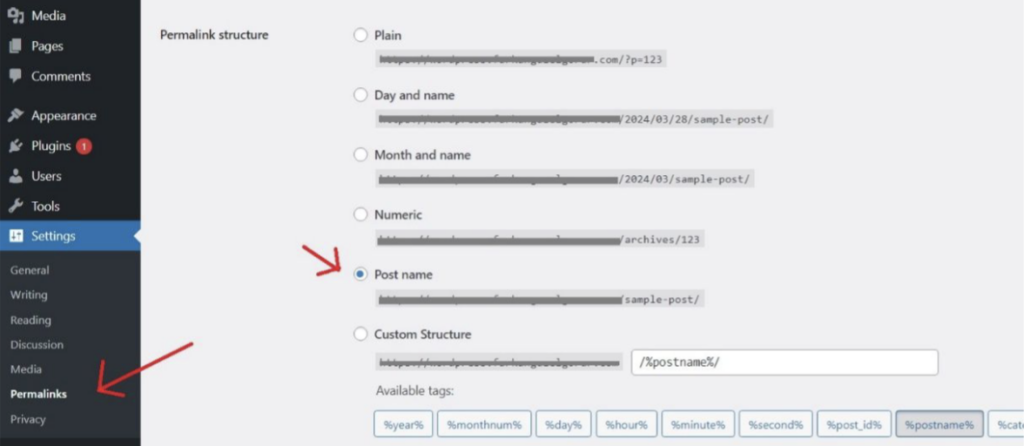
Permalink Options
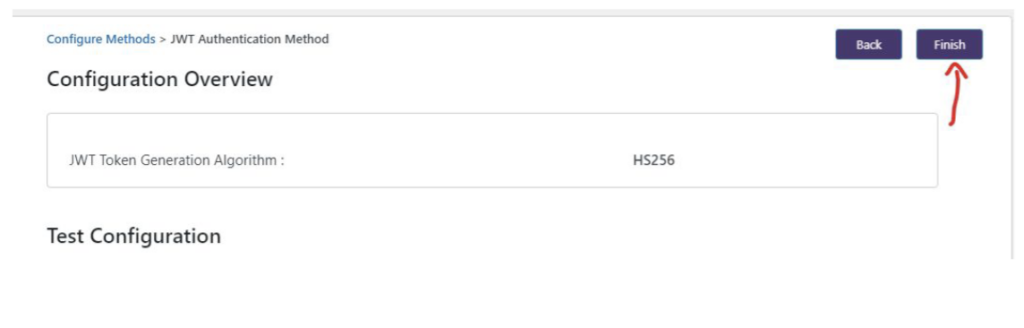
Once the installation is complete, follow the steps below from the customization menu and then press the finish button.
API Configuration
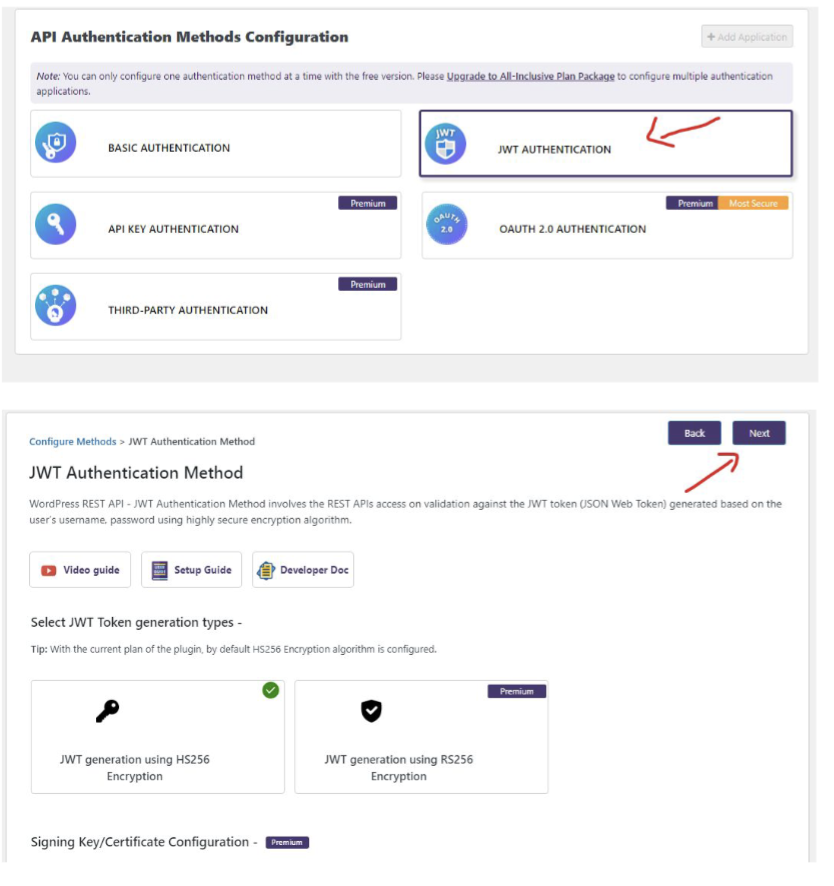
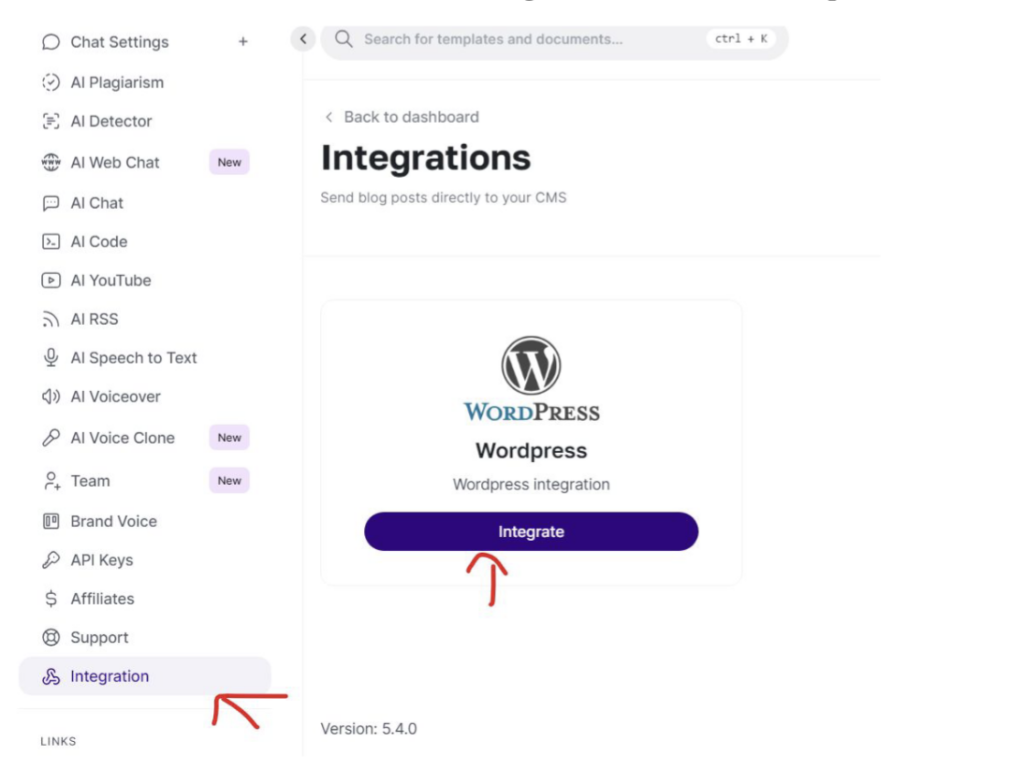
Navigate to Integrations page and follow on-screen instructions to add your WordPress Credentials (Domain, User and Password) to complete the integration.
Access your documents page within your dashboard, where you’ll find a “Publish” button located at the top right corner of your screen. Click on this button to initiate the publishing process of your document onto WordPress.